Orenstein & Koppel 0-6-0 ‘Polly Suzanne’ Kit Build by Ray Wilton
Not a lot been happening the last few days except watching more paint dry.
I wasn’t happy with the finish on the running boards as I did these last year and covered them with cling film to protect them. Bad move, when I took the cling film off it had left a dull sheen over parts of the finish. I thought they would just polish off but no end of different cleaners would shift it. So these have been rubbed down and resprayed along with the cab sides and tank lids.
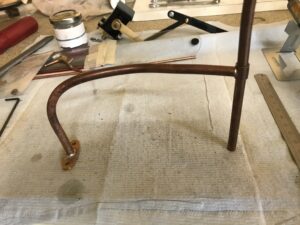
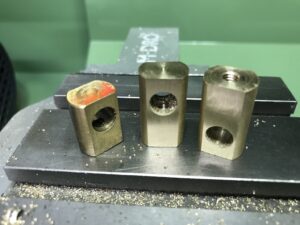
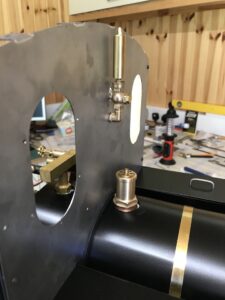
This is the cosmetic steam pipes as supplied, I don’t like the look of the tee piece.
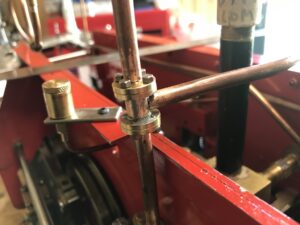
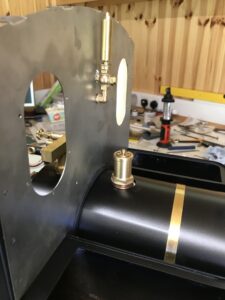
So i made up some flange fittings which look much more the part. Another addition is the oil pot you can just make out in the above picture (its just temporary fixed). Once the running boards are on theres no access to the axel pump ram or eccentric between the frames except from underneath. That makes oiling up a pain so the added oil pot just drips oil onto the two, much easier.
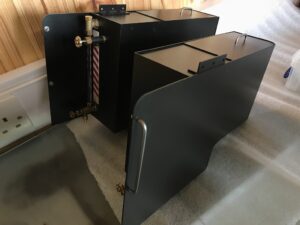
Another week in the workshop but not a lot to show for it. Seems to be one step forward, two steps back at the moment. The Side Tanks have been finished and all the fittings installed.
This is the springing arrangement for the forward wheel sets. The stud and nut transfers the spring tension to the top of the horn guide as usual.
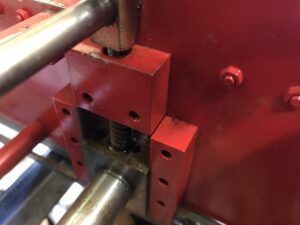
But this is the rear wheel arrangement and as you can see the stud from the axel block carries the weight shaft bearing block but there is a gap under the block when the height of the weight shaft is the correct distance above the axel.
This means that the spring (very stiff on the rear axel as supplied) is pushing the axel block onto the keep bar essentially making it a fixed axel (the weight of the loco will do nothing to compress the spring bringing the axel off the keep bar).
I didn’t like this arrangement so i made up some longer blocks to transfer the spring tension on top of the horn guides where it should be.
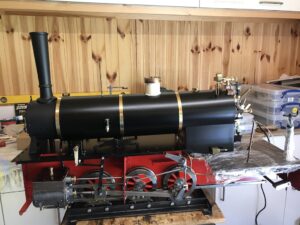
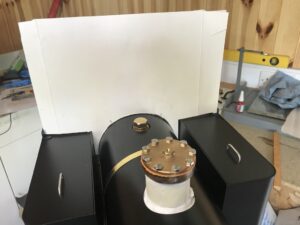
Starting to look a bit more like a Loco now.
The cab front needed a bit of ‘fitting’ to go around the boiler so I made up a card template and made an extra allowance for the rubber beading I obtained from ebay.
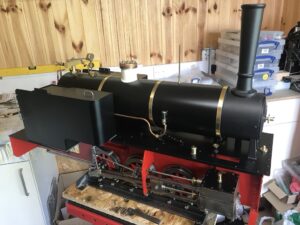
With the cab sides mounted on the side tanks and the cab front in place it was noticeable that the Safety Valve would be right under the replacement cab whistle.
By moving the cab side mounting blocks to the back of the side tanks the hole cab was moved back about 12mm. A lot better I think and the rubber beading makes a nice easy joint between the boiler and cab.
Can you guess what the next job is? Yep, more PAINTING.
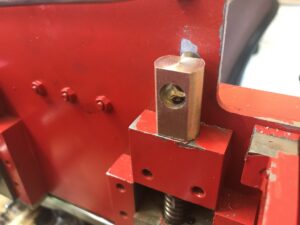
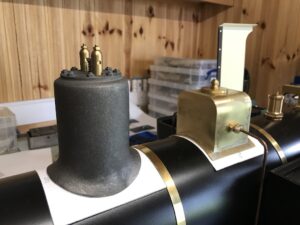
While i’m waiting for the paint to dry on the Cab front and roof I thought i’d make a start on the dome and sandbox. These needed quite a bit of cleaning up and a lot of filing to get a reasonable fit around the boiler cladding.
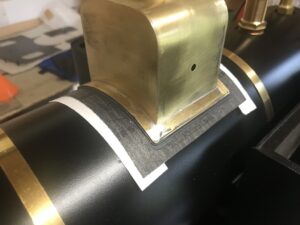
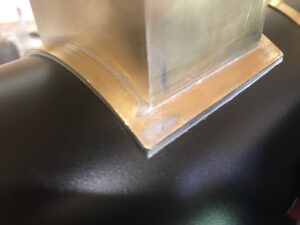
I wanted to get a good fit between the Sandbox and the Boiler cladding but unfortunately the curve in the flange did quite match that of the boiler. I could have unsoldered it, re-rolled and soldered it back on but not having any rollers that wasn’t an option.
(and the club rollers are more than the allowable 5 miles travel distance under the Welsh C-19 restrictions)
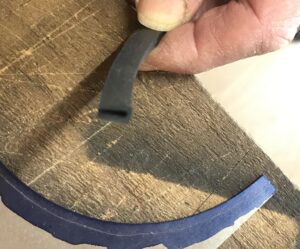
I had intended to put a thin gasket between the sandbox and cladding anyway to protect the paintwork so i decided to glue this on with a generous amount of JB weld adhesive hoping the glue would take up the gaps.
After allowing to set overnight, trimming off the excess and filing back it seems to have worked out ok.