5″ Brittania Modifications by Cadser ( Brian Dickinson )
After looking at John Baugleys web site I decided I would make all the small changes that he did on the Winson Brit in 2019.
So far:
Re bushed all big bearings on the motion. At the same time I drilled the oil holes through the bushes and then counterbored the holes above 3mm. Then tapped holes for about 4mm tapped out 4ba. I packed the rest of the counterbore with felt. Filled them with oil and left them to see how the oil ran into the bearings.
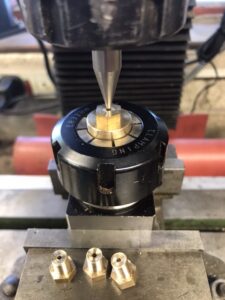
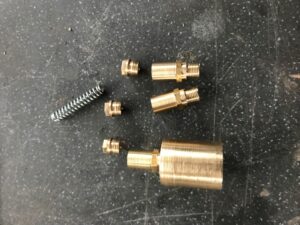
This gave me time to make the oiling nipples as shown on Doug Hewson excellent drawings.
These were simple turning up jobs and it gave me a chance to use a radius cutter that I have.
The oil by now had come through and settled on the bottom bearing surface. Doug says to use cocktail sticks to make plugs for the top hole but I think I will give it a miss.
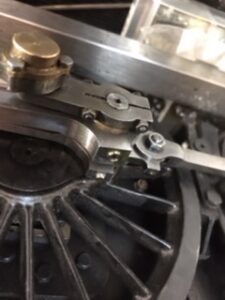
I have also remade all the pins from silver steel for the motion. The split pins were not very attractive.The cotter pins in the ends are glued in.
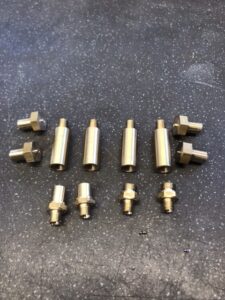
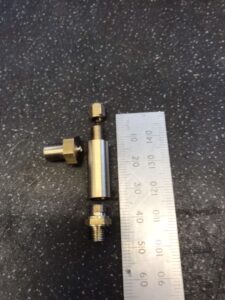
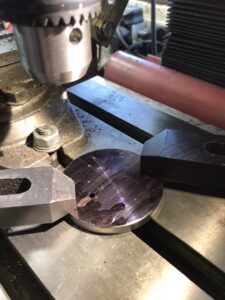
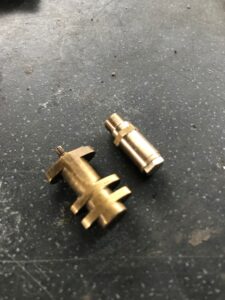
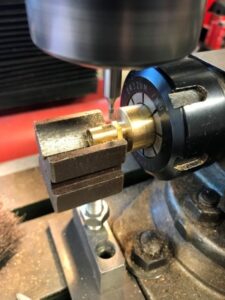
Today I started to machine the steam operated drain valves for the cylinders. I managed to get the bodies made and then made a start on the adaptors to screw into the cylinder. I was reaching to zero my digital readout for the x axis and by mistake pressed another button.
I thought I had corrected the mistake but the next cut took 1:8 of what the readout says I had taken. Ahhhh annoying. I hate the Sino chinenglish manual that came with it. It’s like trying to decipher my hand writing.
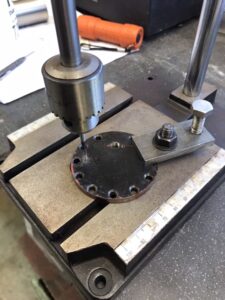
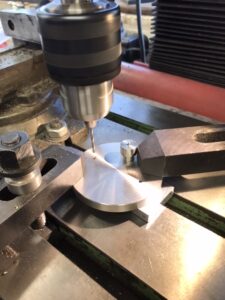
After the problem with the lathe I thought in would crack on with the steam operated cylinder drains. Some turning and milling.
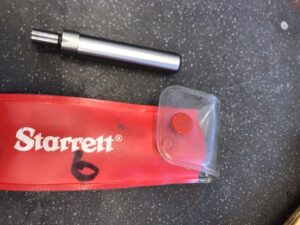
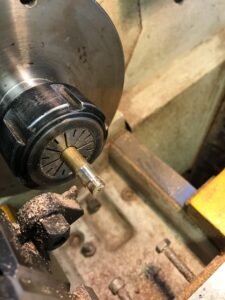
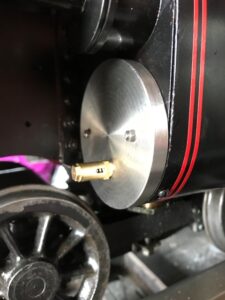
The centering device is a tapered pin. I set it running slow and dive it into the hole and see which way it pulls. It gets it accurate enough for something like these.
If I want precision I use a “Starrett” run off centring device. They run eccentric on a spring as you advance to the work it starts to run true then as you advance it runs off to one side. Really accurate.
So. Next task.
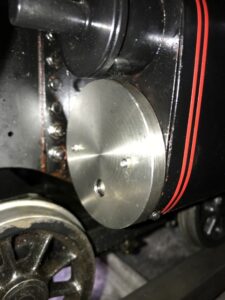
After ‘brief’ running at west shore one time the stainless steel end caps had popped off.
I made them out of 316 stst which has a high coefficient if expansion. I assume when they got warm they expanded and came off. The dummy pressure relief valves on the covers were the only thing holding them and stoping them dropping off altogether.
I decided to make working pressure relief valves for the cylinder ends and modify the end covers so that they bolt on like the real thing.
Not too much progress today. Work got in the way.
I have now re fitted both covers and fitted new gaskets at the same time. I was happy to see that the cylinder internals were nice and oily.
Now to move onto the cylinder safety valves. These should be fun to make
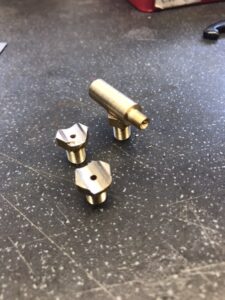
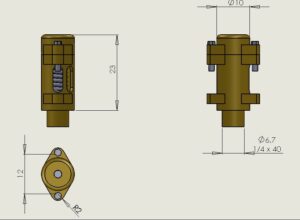
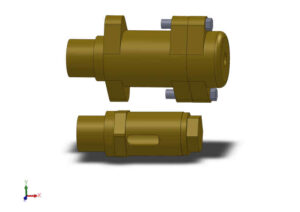
I have been looking at the design i did for the cylinder safety valves which were loosely based on the prototypes that the engine came with. When i got down to it i realised that they were going to be about 50% over scale at 25mm long and look nothing like the real thing. Having looked at the Brittania photographs on fraserkers web site he has a smashing shot of the front off side of the locomotive which shows the cylinder safety valves quite nicely.
So this evening i have re drawn them to represent the more appropriate fitting.
The picture shows my first attempt and the second – i think the second one looks better, and easier to make
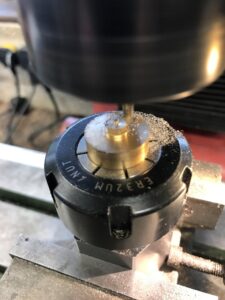
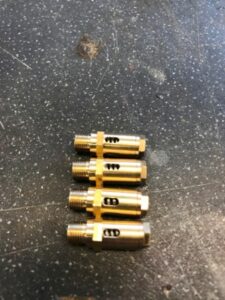
Today I finished the bodies and nuts for the cylinder safety valves. I have made four, the front ones I will fit straightaway, but the back ones will have to wait until I take that end of the cylinder off.
Looks pretty good. It is only screwed in looseley as I have to machine the slots into them.
Looks better than original that came with the engine.
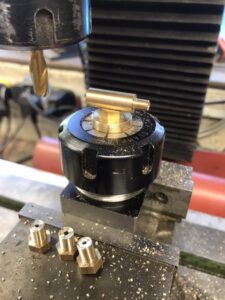
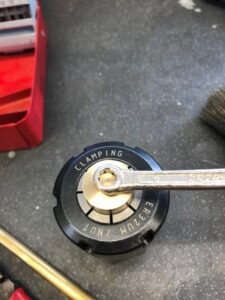
Now to make the nuts by milling the 6mm A/F hex, making sure the spanner fits and ready to slot with one in the holder ready to go on the milling machine.
Yesterday i managed a couple of hours on the valves. They are now fitted and awaiting a steam test.
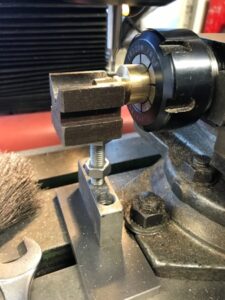
I also made some more silver steel pins for linkages on the valve motion at the expansion link end. Only two more to do and they will all be finished. They look tons better than the split pins and washers. Milling set up – these blocks are great for 90 degree rotation – better than setting up the rotary table for a not too accurate job.
I like the visual improvement that is makes.
Now to move back onto the cylinder steam operated drains. I silver soldered the bits together yesterday and they have been pickled, I now need to clean them up and drill the steam passage into them.